Pictures To Paint: Give Life To Your Cherished Moments
Painting a picture is a fun method to express yourself. If you want to harness your inner Rembrandt or Pollock, you can learn how to start honing your talents and gathering the tools you'll need to create the paintings you want. Learn how to pick paints and brushes, identify a suitable subject, and get it on the canvas.


Steps In Making Pictures to Paint
The steps involved in creating a painting differ from one artist to another and evolve with time. Many artists use a canvas to loosely sketch out the composition before blocking in the primary regions of color. You might begin with the larger forms and work your way down to the smaller ones, focusing on the details as you go. Some artists work in layers, while others paint Alla prima (all at once) to finish a painting in one sitting. For a painting, artists frequently perform studies (little copies) or many sketches. There is no one-size-fits-all method; you must determine what works best for you.

(1) Choosing the Medium and Brushes:
-
Watercolor is the most generally available, least expensive, and easiest to use the type of paint. It comes in tubes or compact plastic boxes with numerous color palettes. Watercolors can be light and pastoral or bold and intense, depending on the quality of the paint. It's a lovely and practical method to get started, particularly with landscapes and whimsical still-life paintings.
-
Acrylics are the most popular paint among amateur and professional painters since they dry quickly and are just as versatile as oil paint. Water-based acrylic paints are simple to use and widely available at craft stores and specialty art stores, making them ideal for intricate details and abstract masterpieces. They're a lot less expensive than oil paints, but they're just as good.
- Oil paints are the most flexible, professional, and radiant paints available. They're also the most expensive and they take the longest to dry, but they provide experienced painters with a wide range of complex mixing techniques and layering options. It might not be the best place to begin, but it's something to think about in the future or try if you're looking for a new challenge.
- Select the appropriate brushes for the project. Depending on the type of paint you choose to use for your picture, you'll need brushes that are compatible with it.
(2) Choosing the Medium and Brushes:
- To start with, put on old clothing and gather all of your equipment. Any painting project will almost certainly result in a mess, so plan to avoid difficult-to-remove paint stains on your carpet or other surfaces. To begin painting, set yourself up in an open place with plenty of light.
-
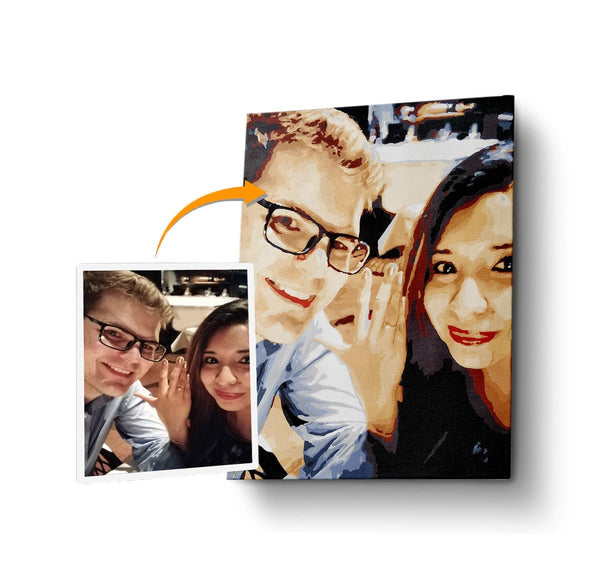
Make a pencil sketch of your artwork. While it's not necessary—you might just start painting—sketching out the general outline of the subject to use as a guide is helpful. You don't have to delve into the fine details of the pollen in the center if you're painting a pot of flowers, but it's a good idea to sketch the outline of the object on the paper before you add color.
-
Spend some time on your palette mixing your paints and attempting to achieve the colors you want to utilize to capture your topic. Some artists may be concerned with getting the value as close to "real life" as possible, while others will wish to experiment. There is no one-size-fits-all approach.
- Before you begin painting, learn how to use, clean, and care for your brushes. Get some practice getting the brush to retain an appropriate quantity of paint and painting smooth, even lines with it before you start your masterpiece. Don't bother about the subject; just paint some scratch while you're mixing colors or diluting down the paint.
- Typically, you'll want to start with the backdrop and work your way to the front of the painting. This allows you to proceed from the general to the specific details, rather than the other way around, by adding layers to generate small details. If you begin with the petals, the picture may become unbalanced. Experiment with different options to determine what works best for you.
(3) Painting Process:
- Simply begin painting with small quantities of paint on your brush to begin making shapes. Allow the paint to make the shapes and follow them if you're merely painting from your imagination.
- If you've already started with a sketch, you can start overlapping colors and forms to create a sense of space once you've created a good background of colors on your page or canvas.
- To begin adding value to the picture, identify the light source and the shadow. Begin with the lightest colors and work your way up to the darker tones. Layering darker colors over lighter colors is considerably easier than the other way around.
- As you continue, mix little amounts of paint and add color sparingly and slowly. Then to create different textures, vary the amount of paint on your brush and the kind of strokes you apply with the brush. Short strokes can resemble fur, while longer, smoother strokes flatten the paint.
- Less paint can help the subject "age," while more paint thickens and creates solidity. Before moving around, it's a good idea to concentrate on one area of the painting and work it through. However, you must get used to the process that works best for you. Depending on the forms and subject being painted, some painters bounce over the page, painting in different locations. It'll be up to you. But, in general, work on one section of the painting before going on to another.

(4) Choosing Subjects:
- Landscapes are one of the most popular and traditional subjects for exhibiting your abilities and admiring nature. Landscape painting emphasizes perspective and depth, capturing a unique perspective of the natural world through paints. It's a chore that some artists devote their entire lives to.

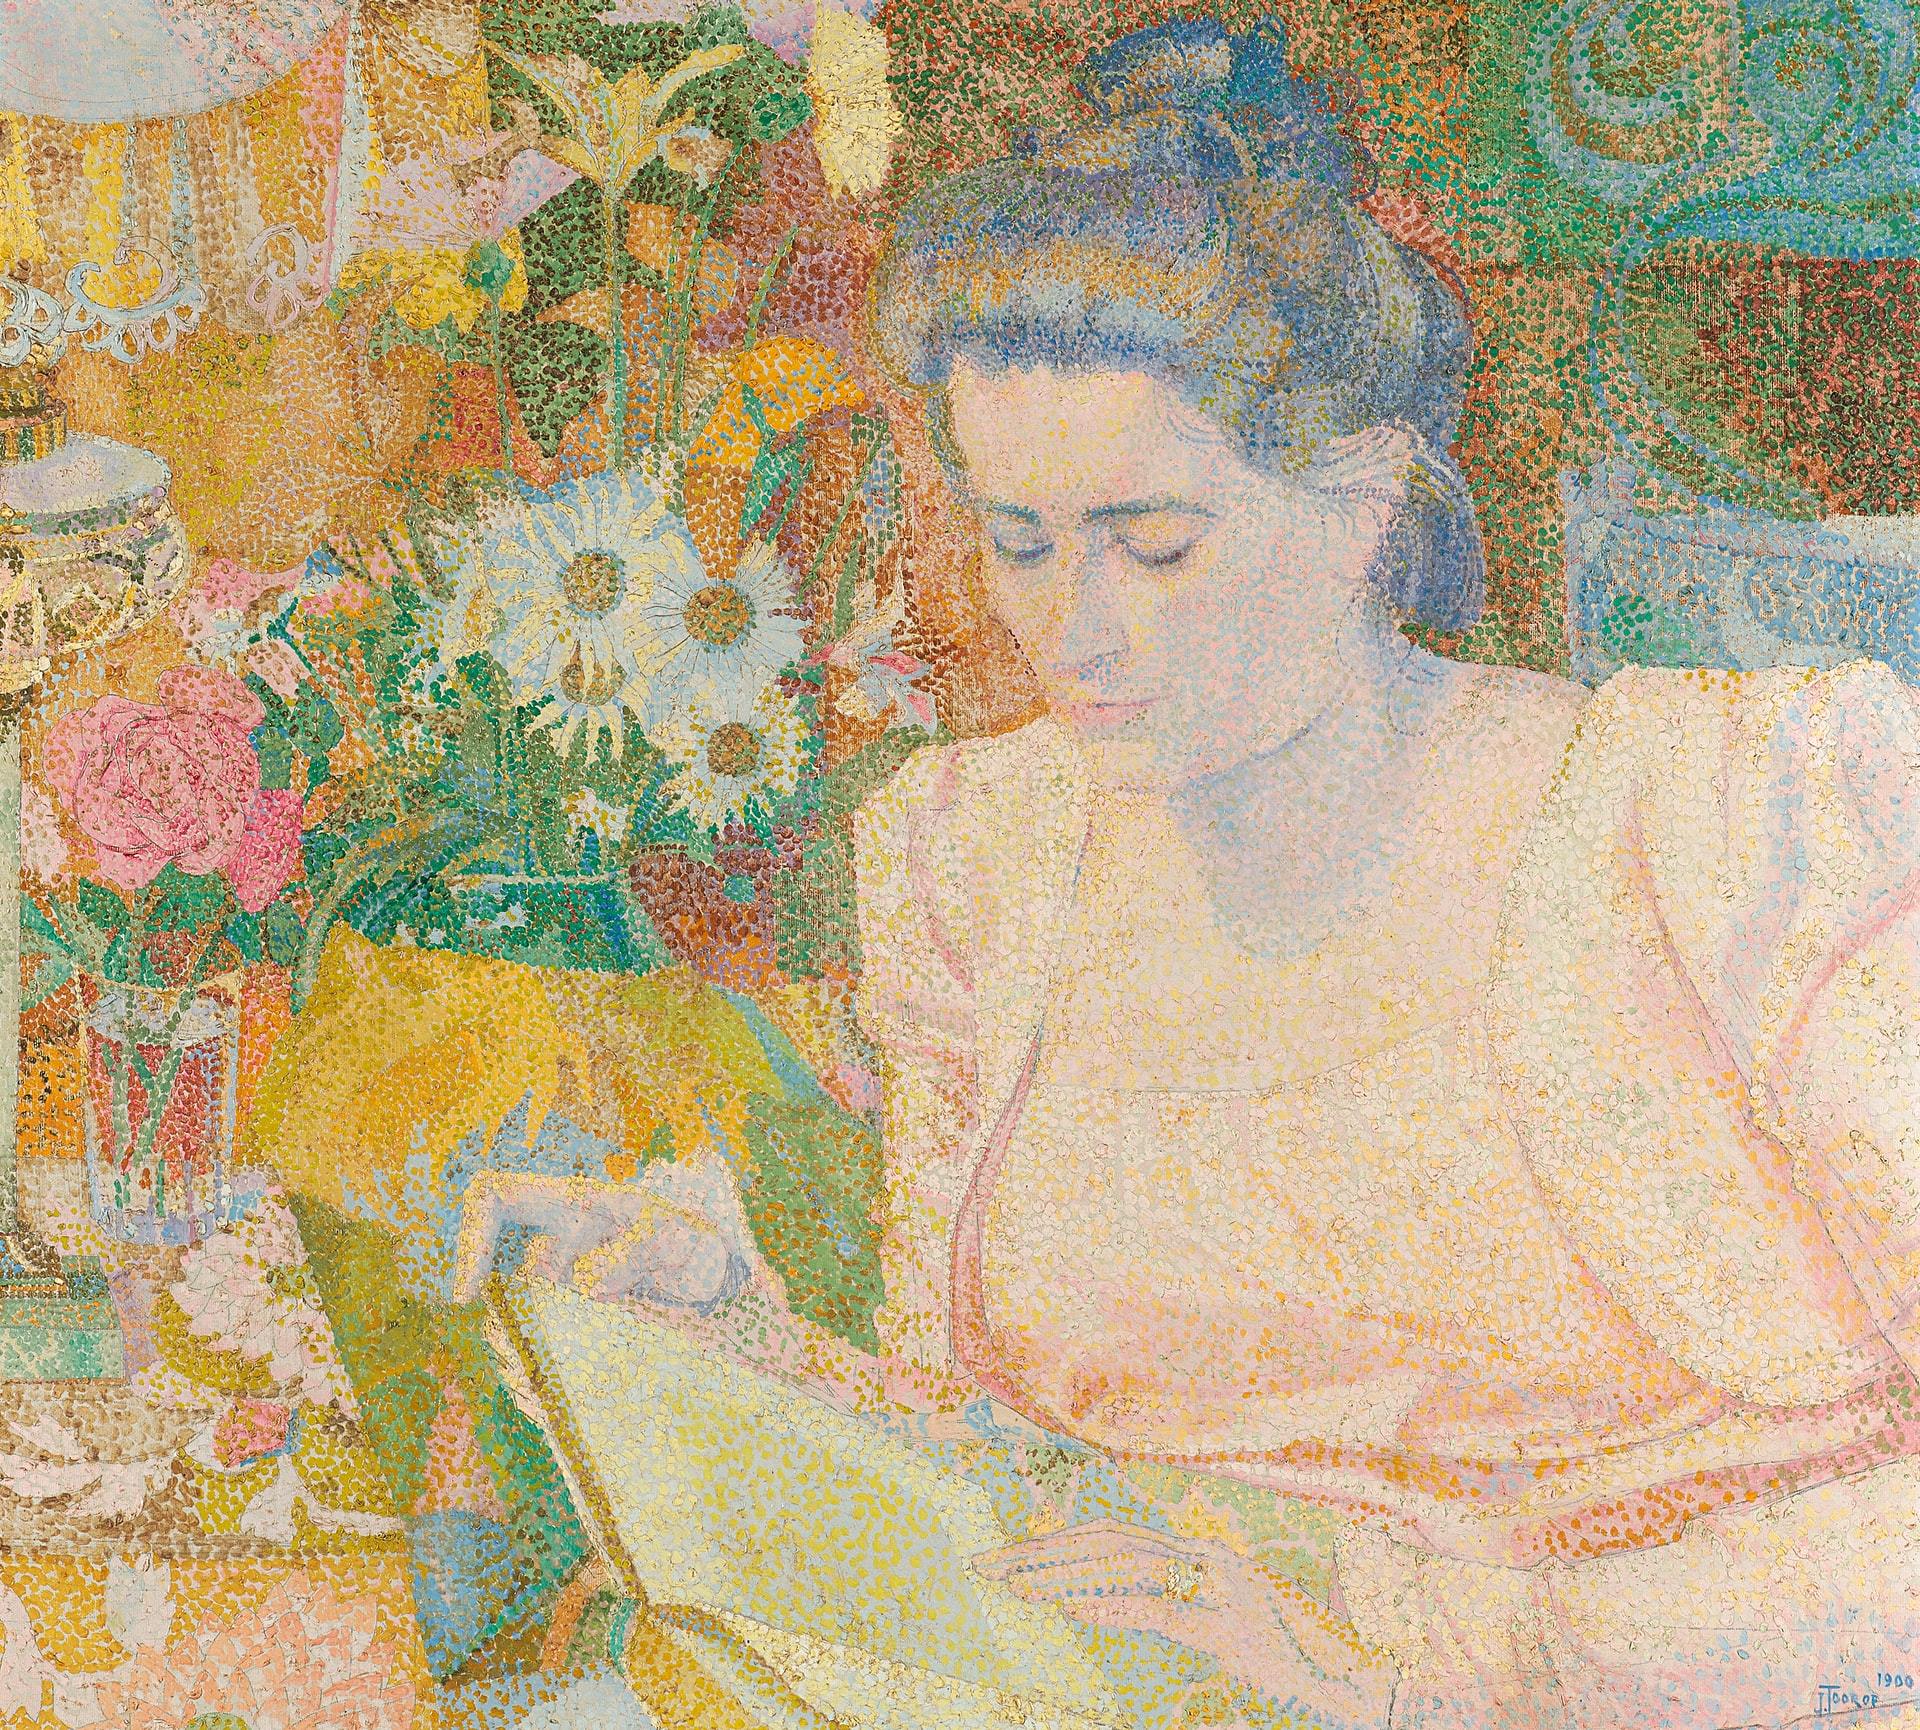
- To study and paint, gather a group of directly-lit objects on a table. Flowers, fruits and vegetables, toys, and other miscellaneous items work well in a modern still life. Gather them on a table in an artistically pleasing manner, with sufficient lighting to cast shadows and create depth, and then start to work.

Some days you'll have more ideas than you can write down, while others you'll be looking for inspiration. This is why keeping a creativity notebook may be quite beneficial. Don't be discouraged if you make an "error" in your painting: they might be "happy accidents," which end in something lovely. If you're still having trouble coming up with ideas, spend an entertaining hour or two brainstorming.