A Beginner-friendly Guide to Painting With Watercolors
Watercolor is one of the most purchased and used artist mediums because it’s affordable yet it gets a lot of mixed opinions from those who use it. While some people say that watercolor is the most difficult medium to learn because water is hard to tame and blending couldn’t be any harder, some artists advise beginners to learn this medium first before any other medium. It is mainly due to the accessibility and affordability of this medium that makes it a go-to choice for many artists.
If you’re looking for a guide to help you get started on your venture, this painting with watercolors guide will give you important things to know about watercolor painting. Don’t be scared to work with this medium because the practice can immensely improve your skills. Thus, it’s understandable to get intimidated at first because even pros get a little intimidated by painting with watercolors. After all, it simply works differently compared to acrylic paints and oil paints.
With these, let’s get started knowing everything you need to know as a beginner: from the materials needed, basic lessons, and ways to improve your watercolor painting skills. Let’s get started so continue reading this article if you wanna be a better artist!


Painting with watercolors can be fun, intimidating, and frustrating all at once. But let’s remove the scary and frustrating part of the learning process by giving you useful information and tips in this venture. Throughout the article, you’ll be packed with knowledge that can help you start practicing this medium.
Materials You Need to Start Painting with Watercolors
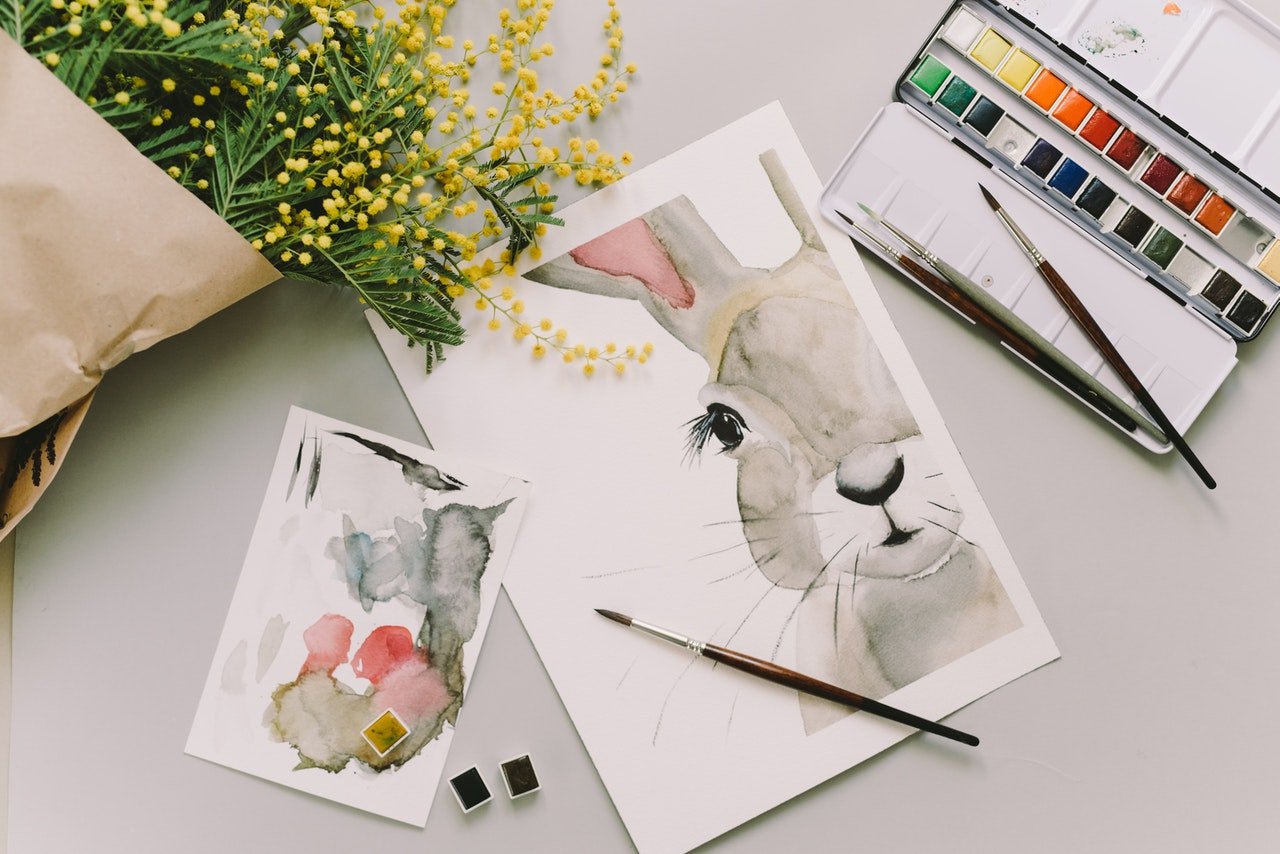
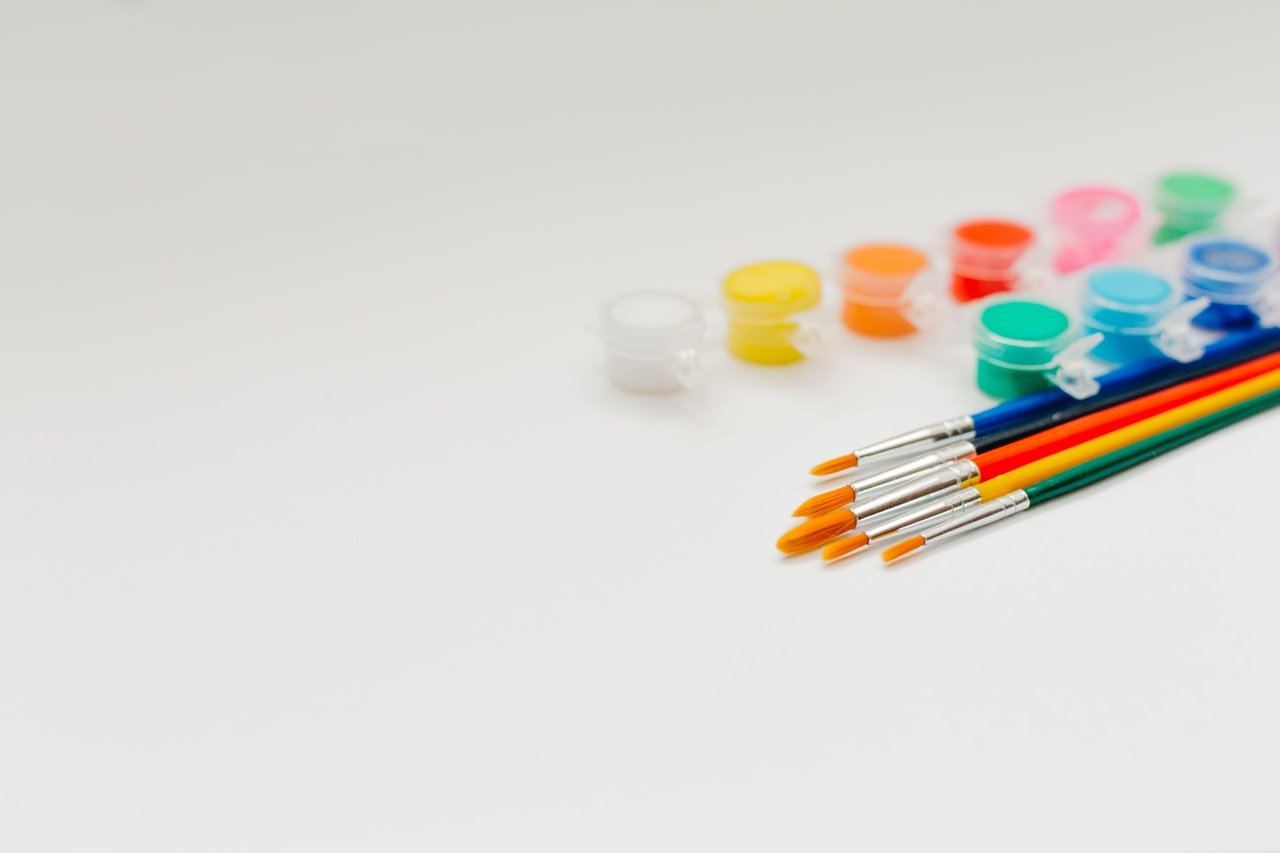
1. A set of watercolors:
You gotta have this medium, of course. There are different types of watercolors to choose from, depending on your skill level: artist’s grade, student’s grade, and children’s grade. Since artist’s grade sets are a little bit costly, you can opt for the student’s grade for now since you’re still in the practicing phase. The quality comes out nicely and they’re cheaper.
Another thing is that watercolor sets come in two forms; tubes or pans. You can choose depending on your budget and preference but the main difference between the two is that tubes are liquidly and the colors are more vibrant while pans require more water to get activated. If you choose the tube type, you will be needing a palette for these.

2. Watercolor paper:
Watercolors require a high-quality type of paper, specifically watercolor paper so that the pigments will not get absorbed in the paper. Thus, this type of paper is ideal because it can take heavy washes without the paper getting ruined.
3. Brushes:
It’s best to purchase a set of watercolor brushes instead of buying them individually to save you time from choosing and to spare you from breaking your budget as well. You don’t need a lot of brushes when painting with watercolors because the brushes are often versatile and one brush alone can produce multiple effects, depending on how skilled you are in using them.
4. Water and cloth:
A cup of water and cloth will help you in between color transitions and after painting to clean the brushes. It is more preferable to use a cloth than tissue paper so that you can reuse the cloth over and over again.

Practice Painting With Watercolors
To help you build your skills, try practicing these five basic watercolor techniques for beginners before you start creating a full-on watercolor image.
1. Wet-on-wet technique:
The wet-on-wet approach is commonly used for painting landscapes, simple sky, or light watercolor strokes because it creates a pleasant flowing appearance that can be used in a variety of ways. To do this, start by wetting your brush and moving it on your surface (don't put any pigments yet). Then, dip your wet brush in the pigment and start working on the surface. Make sure that the surface is wet only in places where you'll work at the moment. This technique is great for blending and creating gradient effects.
2. Wet-on-dry technique:
Most artists use this common technique frequently because it creates a defined and precious dimension to the image. It is a popular technique for illustrations. It is similar to the wet-on-wet approach only that you paint on the surface without making it wet first.

3. Ombré technique:
Ombré is an effect that creates a seamless transition in a single color that starts from desaturated pigments and along the process, the colors are building up to give it a saturated look in the end. It can also be done vice versa, depending on how you want it. To do this, simply start by adding a tiny pigment into a puddle of water in your palette and wetting your work surface first (make sure that the brush is clean and has no pigments on it). Then, slowly and subtly, begin painting from the lightest value to the darkest value, slowly adding a pigment into the puddle of water each time.
4. Gradient technique:
Similar to the ombré technique, creating a gradient effect is making seamless transitions between two or more colors. Instead of simply working with a single color and plain water to create different values of the color, you can work with as many colors as you want while still creating a soft and delicate transition between the colors with no harsh lines or edges.
This technique is perfect for creating backdrops like sunsets, galaxies, iridescent clouds, and more. When selecting colors to work with this effect, be sure to select colors that will create harmony and balance. Otherwise, it will appear visually unappealing and muddy. The instruction is similar to the ombré technique but you work with two or more colors that you prefer.
5. Washing technique:
This is the most often used technique, and for many painters, it embodies watercolor. To make a washing effect, dampen the paper well with your brush and then apply the watercolor pigment using your brush. Awash is often used for backdrops, and it is used to produce huge colorful areas.

Watercolor Sketching: A Beginner’s Warm Up
Just practice the basic techniques above and you’ll be good at using this medium in no time. Watercolor is a medium that is hard to master but just keep on practicing and don’t doubt yourself. Most of all, don’t be afraid to make mistakes. Now, if you feel like you’ve learned the basics, level up your painting with the watercolors game by practicing watercolor sketching.
Watercolor sketching is a painting style produced quickly and in a casual, informal way. It's frequently used as a "warm-up" for a larger, more complex painting, and it's also considered an excellent practice for any artist on the road because you can sketch on the go and use your surroundings as an inspiration to paint.
This small-scale, fluid drawing method is all about getting what you see on paper quickly but that doesn’t mean that you have to rush to finish it.

Loose watercolor sketching may be used to paint a landscape such as the architecture that you see as you sit in the coffee shop, painting a sunflower from your garden, or work from a reference photo that appeals to you. You may even use a watercolor drawing to capture an image in your brain! Just keep in mind that this is a loose style which means the greatest topics are those that don't rely on a lot of fine details to capture a story.