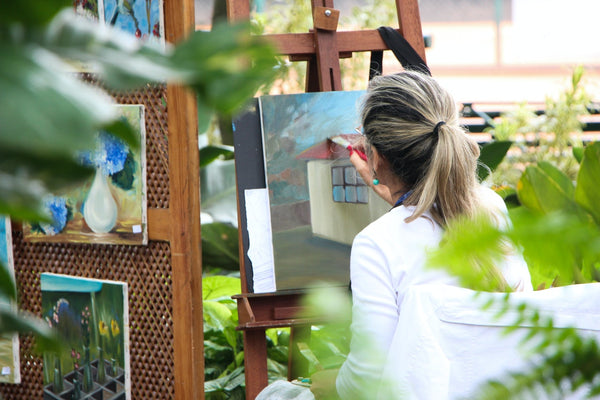
Adult Beginner Painting: Acrylic Methods
If you’ve tried Paint by Numbers and finished the artwork with a lot of acrylic paints to spare, don’t throw them away! Instead, use them to practice your painting skills, or even better, make another artwork. In this article, we will show you different acrylic painting techniques that you can try and apply in your later artworks.

Usually, after finishing a Paint by Numbers artwork, you’d be left with a surprisingly large amount of paint, usually about 50% of paint inside per pot that you can use for another artwork. You can also use it to practice different techniques to improve your brushwork and painting style.
Acrylic paint is the most recommended medium for aspiring artists who want to learn how to paint. It’s easy to work with, it’s affordable, and it has good coverage. The colors are vibrant, with creamy and smooth texture, usually giving you an opaque finish. Moreover, you can achieve different textures and finishes with the help of tips and tricks. The only con with this medium is that unlike oils, it’s faster to dry, hence making it difficult to blend. Despite its fast-drying characteristic, there are available supplies that can make acrylic paint slower to dry than it usually does, such as paint retarders.
Practicing Your Brushwork: Different Acrylic Painting Techniques to Try
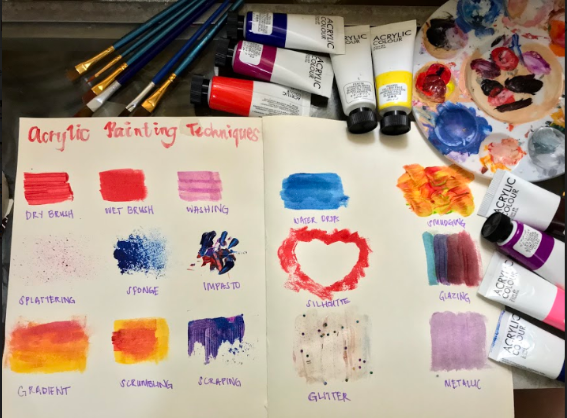
One thing you should know about acrylic paints is that they’re a very flexible medium compared to others like watercolor and oil paint. Acrylic paint can somewhat act like both: if mixed with gels or oils, acrylics can turn into oil paints, hence making them thicker and slower to dry. Since acrylic paint is also water-soluble, this can create watercolor-like consistency and effects.
Moreover, the brush of your choice can greatly affect the finished look of your painting so you need to learn the basic uses of basic brushes (which will be discussed in a future article).
- Dry brush: Use a good amount of paint and apply it on your dry canvas for textured and visible strokes.
- Wet brush: To achieve a more loose consistency, wet your brush and mix it with the paint on the palette.
- Washing: Dilute your acrylic with a drop or two of water for a translucent finish.
- Splattering: Wet your brush and dip it in paint, and flick its bristles. You can also use an old toothbrush for a more controlled finish for this technique.
- Sponge: Use an old sponge, dip it in paint and lightly dab it on the canvas for a textured, blended finish.
- Impasto: Using a palette knife (or plastic knife), scoop up some paint and directly transfer it to the canvas, apply it low pressure to maintain and build a thick oil-like texture.
- Gradient: Directly squeeze the colors of your choice on the canvas (darkest to lightest, it’s okay if they overlap a little bit). Wet your flat brush and start spreading the paint, working your way from darkest to the lightest color.
- Scumbling: Apply a thin layer of paint on the canvas and let it dry. Once dried, use another dry brush, dip it in paint and rub it on the canvas. (The less moisture on the brush and paint, the better result).
- Scraping: Apply dots of paint onto the canvas. Using a flat object like a credit card, scrape the paint in different motions, from up to down, left and right, you decide.

- Water drops: Dilute your paint with a bit of water and apply it onto the canvas. Then, using a pipette or your fingers, sprinkle drops of water on the layer of paint.
- Smudging: Apply dollops of paint directly onto the canvas, make sure that they’re close to overlapping each other. Then with a dry brush, randomly smear the colors, creating a thick, blended effect of textures.
- Silhouette: Create a cut-out of whatever shape or object you like. Put the cut-out on top of the canvas and apply a layer of paint. Once dry, lift the cut-out and paint it with black, or any color that can contrast to the background.
- Glazing or Washing: Thin out your acrylic paint with water and apply a layer to the canvas. Repeatedly do the step with other colors to create a new shade each time you apply a layer on top of the other.
- Glitter: Add glitter to your paint or you can use a glitter-incorporated acrylic paint for a glittery finish.
- Metallic: Add mica powder to your acrylic paint (or scrape some used eyeshadows then incorporate it to the paint) for an extra shine and metallic finish.
More Acrylic Painting Tips:
Priming Your Canvas: Is it Necessary?
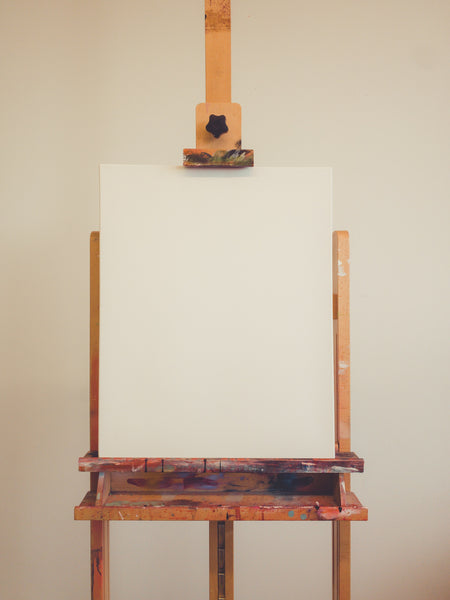
Priming is a very important process in painting whether you use acrylic paint or oil paint. When you prime your canvas, it will be smoother and less absorbent, hence making it easier for you to apply your paint. However, you CAN skip this process, as long as you use a pre-primed stretched canvas, then you’re good to go. If your canvas is not pre-primed, then you HAVE to undergo this process.
Misting
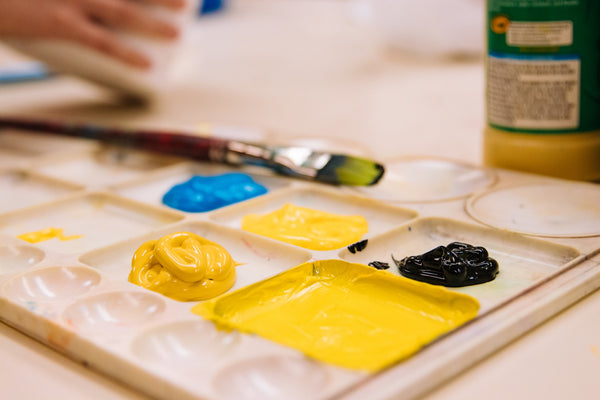
Since Acrylic paints are very fast to dry, misting water to your palette is a great solution to avoid them from drying while it’s still on the palette. Use an old spray bottle and fill it with water. Spray water to the pigments in the palette when needed.
Sealing/glossing: Is it important?
Once you finish your artwork and it's completely dry, then it has to undergo the last, yet very important process: sealing. This is an important process in order for your painting to last longer. The seal will protect your canvas from yellowing and dust.
Different Types of Sealant Finishes:
- Matte finish: this type of sealant can lighten the dark colors of your artwork. Has a less shiny finish compared to glossy or satin.
- Glossy finish: this type of sealant will brighten your artwork, giving it a very shiny and glaring finish.
- Satin finish: this type of sealant is somewhat between matte and glossy, giving a very “softened” finish to the colors of your artwork.