Easy Painting: Color Mix and Brushwork
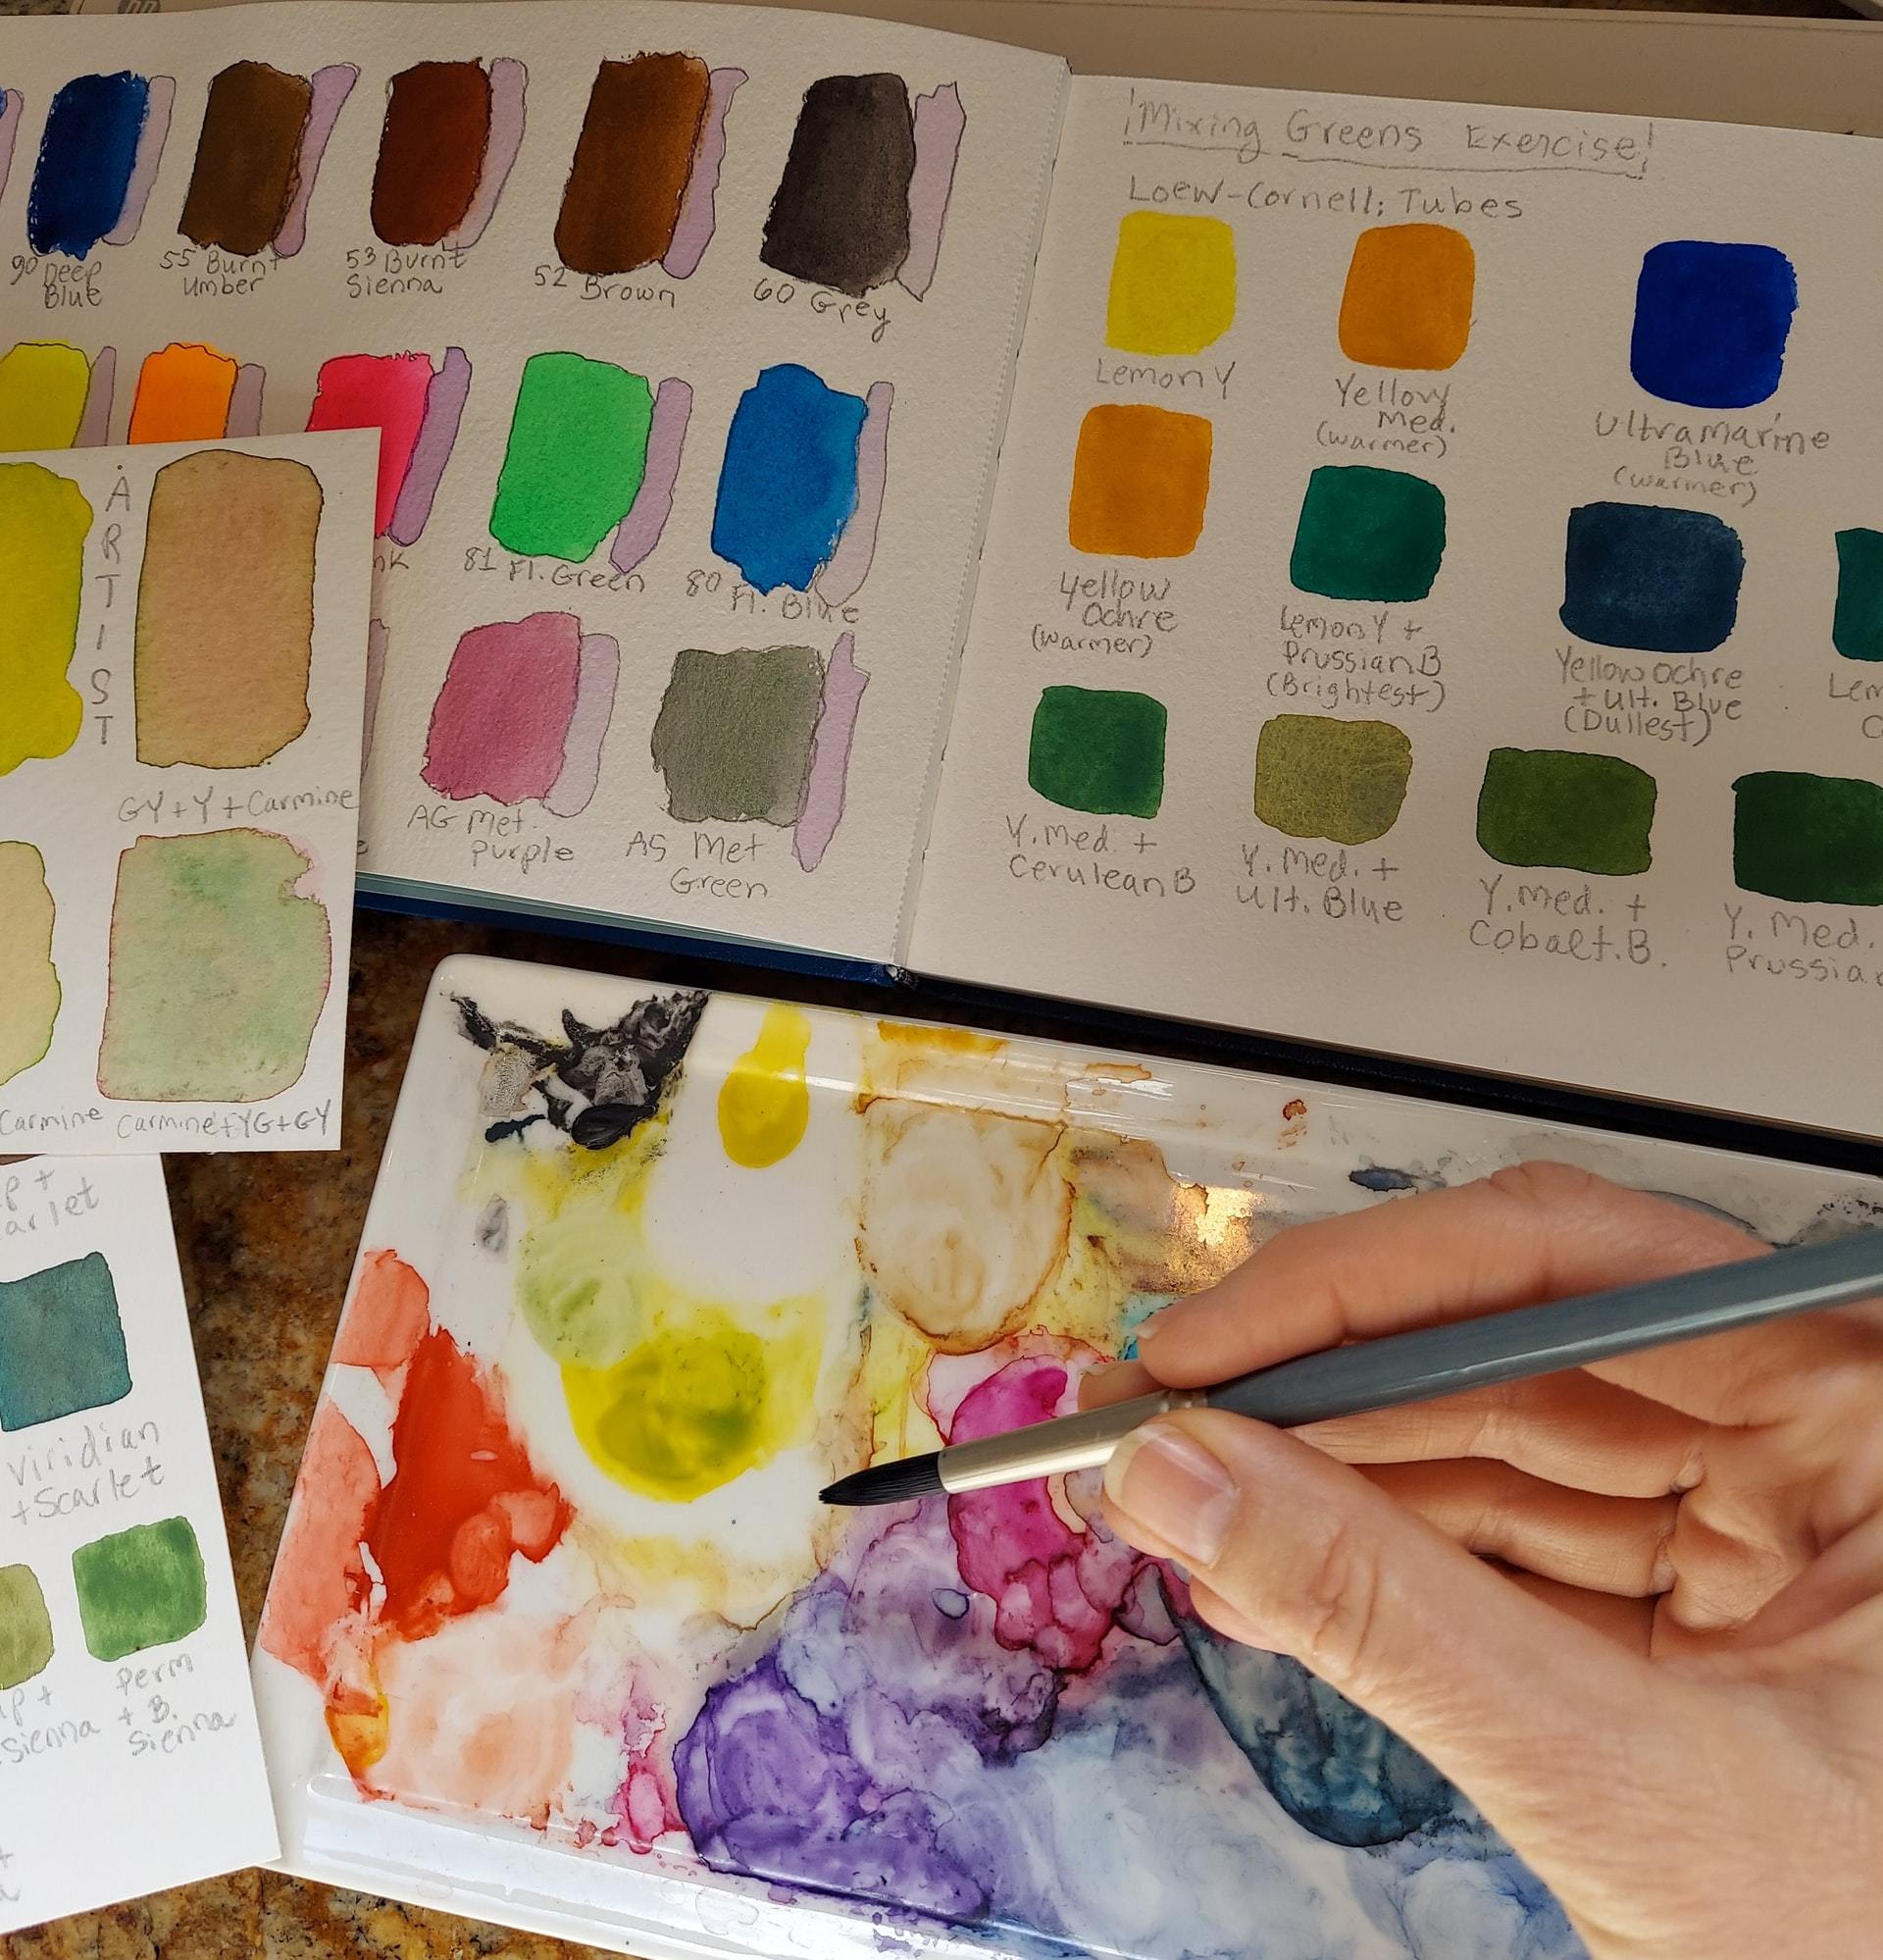
One of the most intimidating things to learn in painting is color mixing. Knowing the color theory and the color wheel, as well as a handful of tips and tricks can help you create beautiful artworks with stunning color schemes. Learning brushwork can be less difficult when you learn the basic brushes and how to use them properly. All these mentioned will be discussed so continue reading this article!

Color mixing and brushwork are pretty much the basics that you need to master as an aspiring painter in order to achieve your goal of creating beautiful art. Thus, having a certain guide in painting can give you an advantage because it’s also an opportunity for you to experiment with the “rules” provided by the guide in order to improve your artwork. Moreover, mastering the basics can further open you to more knowledge in the world of painting, helping you generate more creative ideas and your own unique painting style and techniques.
Color Mixing for Beginners

Other list of supplies that can be helpful
Artist Palette
Palette knives (or kitchen plastic knives will do)
Cup (fill it with water)
Tissue papers
Perhaps all of us are already familiar with the three basic primary colors: Red, Yellow and Blue. These are the colors that cannot be created regardless of what combinations you try, but when mixed, they create the secondary colors. Since they cannot be created, these will be the colors that are MUST-HAVES, including White.
Red-- Cadmium Red*
Yellow-- Cadmium Yellow*
Blue-- Phthalo Blue or Ultramarine Blue*
White-- Titanium White*
(*) name of the Acrylic color that you can purchase
Secondary Colors:
These are the resulting colors of two primary colors when combined.
Purple= Red + Blue
Orange= Red + Yellow
Green= Blue + Yellow
Otherwise, you can also purchase secondary colors if you prefer to have more color selections.
Purple-- Purple
Orange-- Cadmium Orange
Green-- Phthalo Green
Tertiary Colors:
These are the combination of a Primary and Secondary Colors
Yellow Orange
Red Orange
Red Violet
Blue Violet
Blue Green
Yellow Green
Learning color theory is a must for color mixing. Here are more tips that you should remember during this process:
- Remember to keep a spray bottle filled with water. Misting your pallete will prevent your painting from drying quickly.
- Have a cup (or two) of water beside you, this will be used for cleaning the brushes in between color transitions.
- Using tissue paper can also be helpful in drying your brushes quicker.
When Tinting:
Tinting is the process of adding white to a pigment to create a lighter version of it.
- Start by adding a small amount of white to the pigment-- a little goes a long way.
- If the desired color is not yet achieved, add another small amount gradually until the desired color is reached-- you can always add, but you can never take back.
When Shading:
Shading is the process of darkening a pigment by adding black or brown.
- Use a very small amount of black whenever you try to darken a pigment. Too much black can make your paint have a very muddy-look.
- You can use dark blue or brown as an alternative to black, this can also prevent your paint from looking muddy as long as the right amount is used.
- To create a very deep blue pigment, add a very tiny amount of red paint.
When Toning:
Toning is when you add gray (by mixing equal amounts of black and white pigments), or any other colors to desaturate a color. Toning is also used somewhat like an underpainting in order to achieve a realistic painting.
- Use Burnt Sienna (reddish brown) to create a rusty, orange effect.
- Use Gray to cool down colors.
- Use Yellow Ochre (mustard) if you need a good lighting effect for your painting (i.e. sunrise, sunsets)
Browns and Skin Tones:
- Mix all the primary colors to create Brown, a basic skin tone color.
- Add white or yellow if you want to lighten the brown skin tone.
- Add a bit of red to create a pinkish, blush-looking skin tone.
- Adding a bit of blue can make the brown darker.
- Use gray to neutralize the color.
Basic Acrylic Brushes and their Uses
-
Angled Brush:
Similar to a flat brush, it is good for painting curved places and hard to reach ends; shading, and it can also be used in the way you use a flat brush.
-
Flat Brush:
This brush is rectangular in shape, it holds a lot of paint and is ideal for painting in areas where you need washes, thick strokes and full coverage. This brush can also be used for varnishing.
-
Fan Brush:
Thin-haired and spread into the shape of a fan, this brush is good for creating textural effects in painting, especially in objects like clouds, leaves, etc.
-
Round Brush:
Good for details, sketching, shading and covering small areas, and ideally used when the paint is diluted with water or any thinner.
-
Detail Brush:
A smaller version of a round brush, shorter in length; typically used for fine areas that require details and intricate designs.
-
Filbert Brush:
Flat and oval in shape, it is good for painting round edges, blending areas, detailing and covering medium to semi-large areas.
-
Round Pointed Brush:
Similar to a Round Brush but it has a pointed tip and a narrower bristle. Useful for spotting, coverage on smaller areas, fine details and sketching thinner lines.


